Dyeing & Finishing
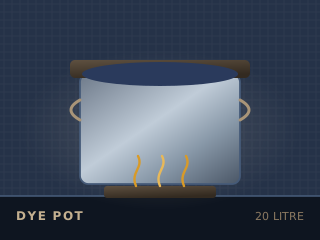
Dye pot
A dedicated pot, never a cooking pot
Specifications
| Capacity | 8 – 30 L |
|---|---|
| Materials | Enamel, stainless steel |
| Avoid | Aluminium, unlined copper, chipped enamel |
| Heat source | Electric hotplate, gas ring, or outdoor burner |
| Lid | Yes — for even temperature |
| Dedication | Dye use only, permanently labelled |
Technical parameters
| Material note | Iron pots darken; copper shifts greens |
|---|---|
| Stirring | Dedicated wooden or plastic spoon |
| Temperature control | Thermometer essential |
| Ventilation | Required |
| Best for | All natural and acid dyeing |
Overview
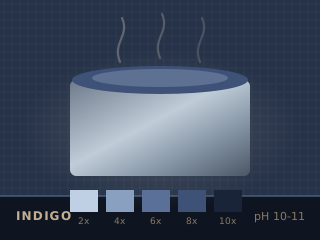
A dye pot is the vessel the dye bath is heated in. It must be a dedicated pot — once it has held dye or mordant it must never touch food. Enamel and stainless steel are the practical choices; aluminium reacts with mordants and copper brightens greens unpredictably.
Typical figure for this stage: 30 – 60 °C. Wet-finish, full or press the cloth so the fibres relax and the weave settles.
Safety notes
This is the single most important safety rule in dyeing: a dye pot is not a cooking pot, and no container that has held dye, mordant or fixative may ever be used for food or drink. Store dye pots separately and label them. Chipped enamel exposes reactive metal — retire the pot. Never leave a dye pot unattended on a heat source, and keep children and animals out of the dye area entirely.
Using it well
- Buy the biggest pot you have room for — dyeing half a pot at a time wastes heat and dye.
- Mark it permanently. A pot that has held mordant is not a cooking pot, ever.
- A thermometer takes the guesswork out of the temperature ramp.
- Dye outdoors or under an extractor; the steam carries the chemistry.
Practise it in 3D
Run this stage as an interactive simulation, with the same figures this page quotes.
Open the simulator