⋈ Weaving toolkit
Plan a warp, weave a cloth, and understand every pick you make.
Free interactive simulators, sett and yarn calculators, and a fibre-to-fabric reference — built for weavers who want to know what the cloth is doing, not just follow a draft.
Five families
Where do you want to start?
Every entry belongs to one of five families, from the loom itself through to the finished, washed cloth.
Looms & Frames
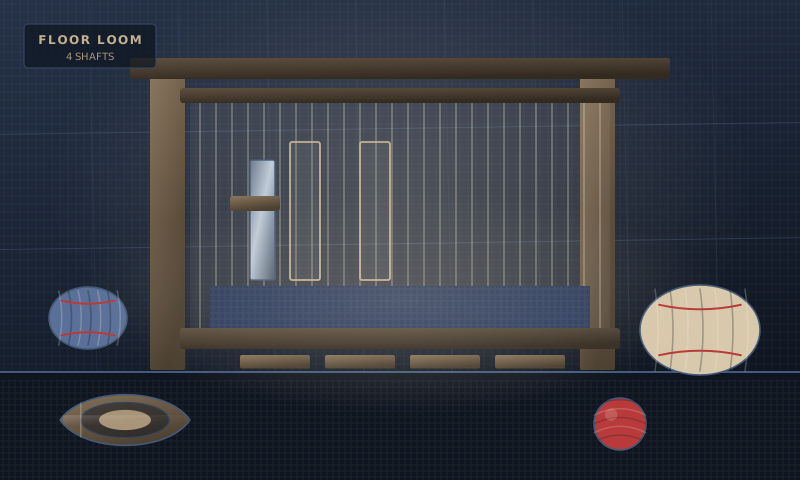
Everything that holds tension and moves the shed: floor looms, table looms, rigid-heddle looms, inkle looms, tapestry frames and warping boards.
Fibers & Yarns
Wool, cotton, linen, silk, alpaca and novelty yarns, with the numbers that matter: count, strength, elasticity, sett and shrinkage.
Weaving Tools
Shuttles, bobbins, reeds, heddles, warping pegs and fringe twisters — the parts that carry the weft and set the cloth.
Dyeing & Finishing
Natural and synthetic dyes, mordants and dye pots, plus the washing, fulling and pressing that turn woven cloth into finished fabric.
Patterns & Drafts
Draft paper, pick-up sticks, pattern books, sett references and sample notebooks — the paperwork that makes a weave repeatable.
The process
Four steps from yarn to cloth
Weaving is a short sequence of very controllable operations. Most problems come from skipping one.
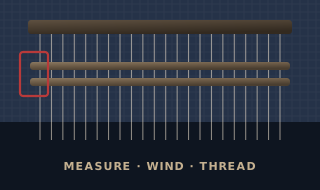 Step 1
Measure & warp
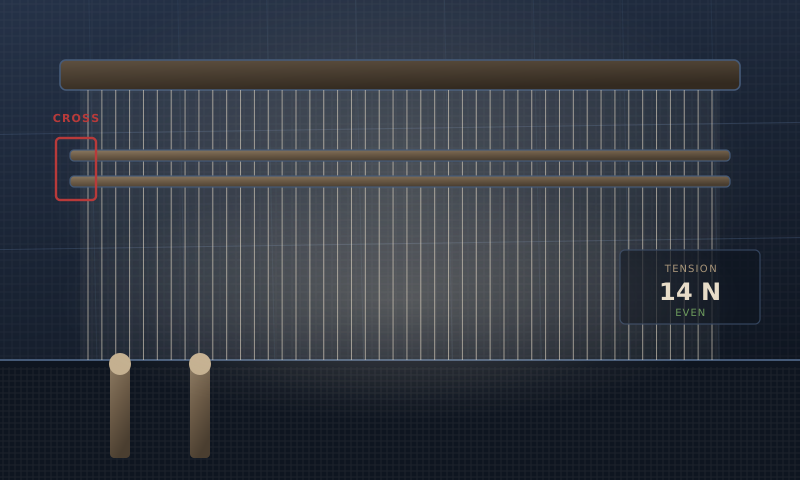
Wind a warp of an exact length, keep the cross clean, and thread the heddles and the reed. Most weaving faults are warp faults.
 Step 2
Weave the cloth
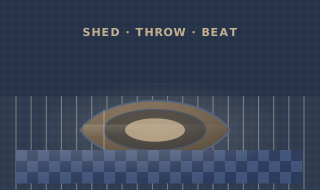
Open the shed, throw the shuttle, beat the pick home. An even rhythm makes an even cloth; a hard beat does not.
 Step 3
Read the draft
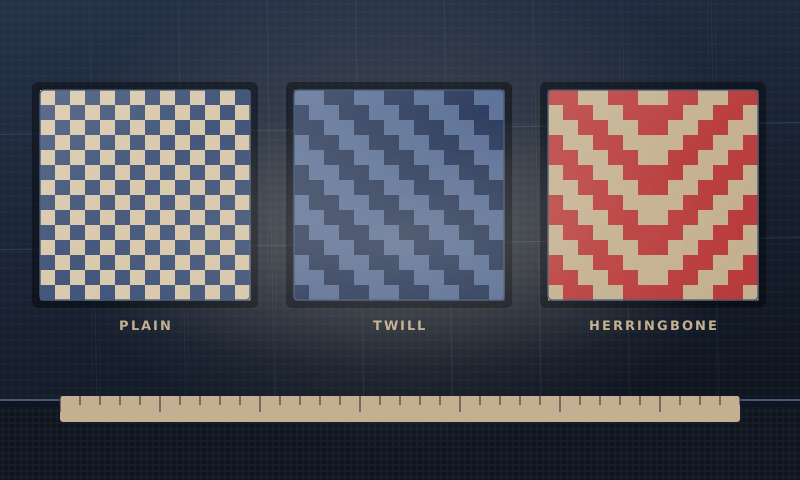
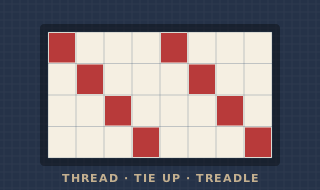
Threading, tie-up, treadling, drawdown. The draft decides the pattern — the loom only follows instructions.
 Step 4
Finish & wash
Wet-finish, full or press so the fibres relax and the weave settles. This is where shrinkage happens and the hand is set.
3D Studio
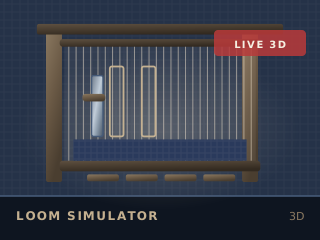
Thread the loom before you warp the yarn.
Drag to orbit the loom and watch the sheds open as the shafts lift. The four simulators take the same model further: weaving, pattern design, dyeing and warp planning.
Most used
Popular tools
The nine entries weavers reach for most often, across all five families.
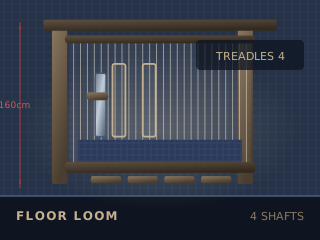
Floor loom
The full-size loom with foot-controlled sheds
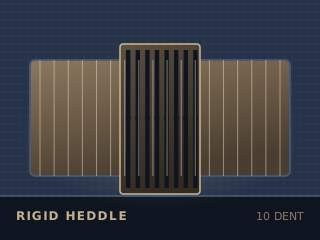
Rigid heddle loom
One-piece heddle that sets the sett for you
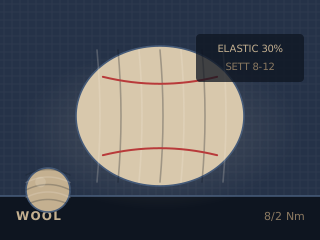
Wool yarn
Elastic, warm and forgiving
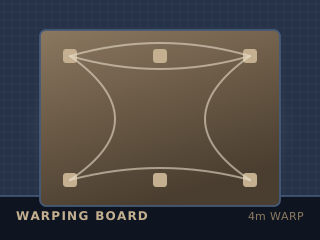
Warping board
Measures a warp to an exact length
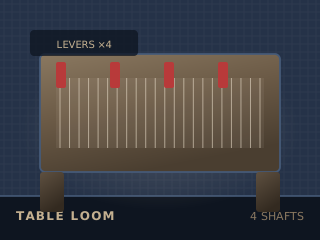
Table loom
Compact loom with hand-levered shafts
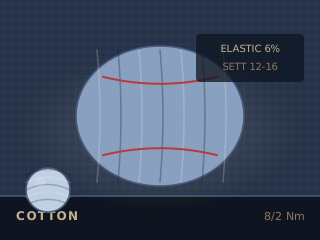
Cotton yarn
Strong, inelastic and predictable
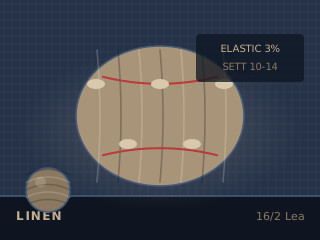
Linen yarn
Stiff, lustrous and stronger wet
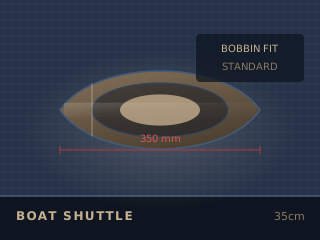
Shuttle
Carries the weft through the shed
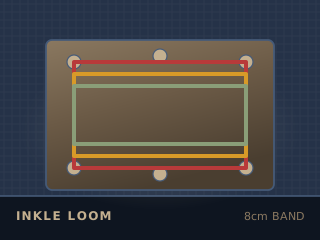
Inkle loom
Belt loom for warp-faced bands
Numbers
Calculators
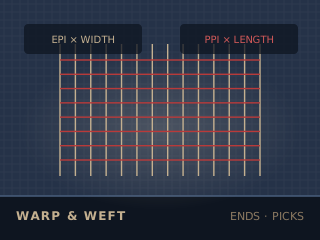
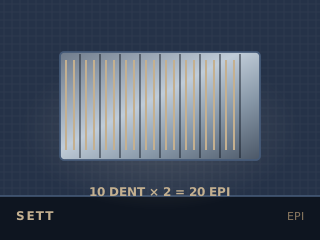
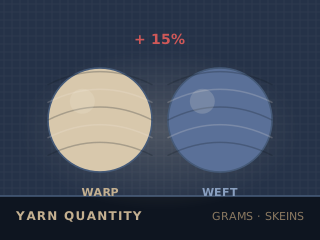
Work out the sett, the ends and the yarn before you commit a warp.
Reading
Start here
Three articles that answer the questions new weavers ask most.
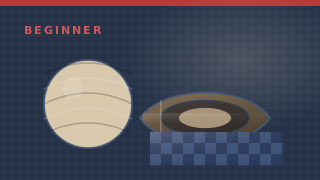
How to Start Weaving: A Beginner’s Guide
What to buy, what to skip and what your first warp should actually be. A first session planned so that it finishes with cloth rather than a tangle.
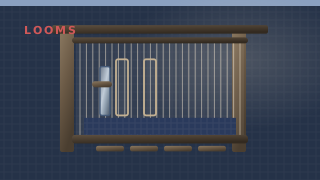
Choosing a Loom: Floor, Table or Rigid Heddle
Three loom families, what each one is genuinely good at, and the two specifications that decide whether you will still be using it in three years.
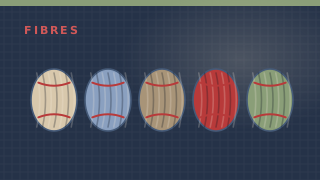
Understanding Fibers: Wool, Cotton, Linen and Silk
Four fibres, four entirely different behaviours on the loom. Elasticity is the number that decides how forgiving a yarn will be.
New to weaving?
Begin with a rigid-heddle loom, one smooth worsted wool and a scarf. The beginner guide walks the whole first session in order, from measuring the warp to the second wash.