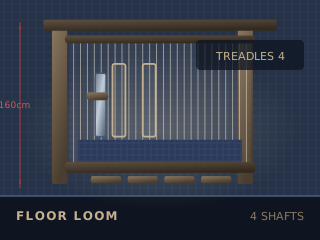
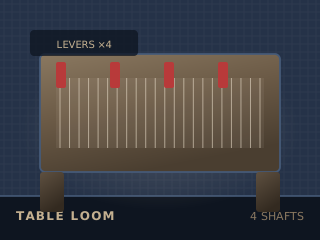
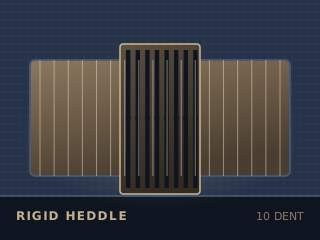
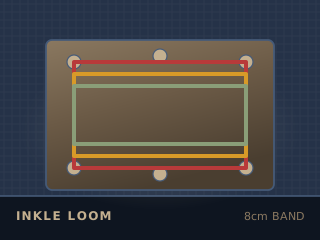
Looms & Frames
Warping board
Measures a warp to an exact length
Lock the brake firstNever cut a tensioned warpMask up for dusty fibreVentilate the dye areaTie back hair · check heddles · ventilate
Specifications
| Typical size | 60 × 90 cm to 90 × 150 cm |
|---|---|
| Warp length | Up to 6 – 12 m |
| Peg spacing | Fixed, often 2.5 or 5 cm |
| Ends at once | 1 – 2 (2 with two people) |
| Wall mounted | Yes, usually |
| Setup time | None |
Technical parameters
| Method | Figure-of-eight or straight wind |
|---|---|
| Counting | Cross at one end, choke ties |
| Materials | Pine, maple or birch pegs |
| Cross keeper | Ties or a lease stick |
| Best for | Any warp longer than a metre |
1Warp25 – 160 cm
Overview
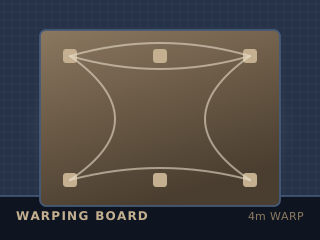
A warping board carries pegs at set intervals so you can wind a warp of an exact length in a single continuous figure-of-eight. It is how you count ends, keep them in order and carry the whole warp to the loom without tangling.
Typical figure for this stage: 8 – 20 N tension. Measure, wind, thread and tension the warp. Most weaving problems are warp problems.
Safety notes
Wall-mounted boards must be fixed into a stud or a proper anchor — a loaded board pulling off the wall is a real injury risk. Do not over-tension the pegs. Keep the winding path clear of trip hazards, because you walk it hundreds of times.
Using it well
- Keep the cross clean and tie it first — the cross is the only thing keeping your ends in order.
- Wind with even tension; a warp wound loose at the back is loose forever.
- Add 40 – 60 cm of loom waste to your calculated length.
- Tie choke ties every metre or so, and again before you lift the warp off.
Works with
Practise it in 3D
Run this stage as an interactive simulation, with the same figures this page quotes.
Open the simulatorEducational reference. Specifications are typical published ranges for this class of equipment or material, not a specification for any one product. Always follow the manufacturer’s instructions and local rules. Nothing here is a guarantee of cloth, colour or result.