Patterns & Drafts
Draft paper
The grid a weave is written on
Lock the brake firstNever cut a tensioned warpMask up for dusty fibreVentilate the dye areaTie back hair · check heddles · ventilate
Specifications
| Grid | 4 – 8 squares per inch |
|---|---|
| Squares used | Threading, tie-up, treadling, drawdown |
| Format | Pad, loose sheet or printed |
| Weight | 80 – 120 gsm |
| Colour | Light grid, dark ink |
| Size | A4 or A3 |
Technical parameters
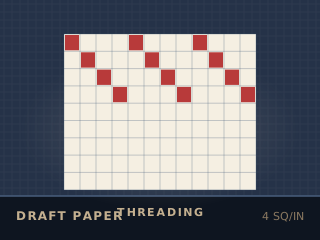
| Threading | Warp end → shaft, left to right |
|---|---|
| Tie-up | Shaft → treadle, grid |
| Treadling | Pick → treadle, top to bottom |
| Drawdown | The cloth as woven |
| Convention | Marked square = warp on top |
3Pattern4 – 16 shafts
Overview
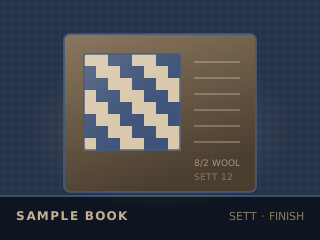
A weave draft is drawn on a squared grid: the threading on top, the tie-up at the right, the treadling below and the drawdown in the middle. Draft paper is simply graph paper with the squares large enough to read and dark enough to photocopy.
Typical figure for this stage: 4 – 16 shafts. Lift the right shafts in the right order. The draft is the pattern; the loom just follows it.
Safety notes
Nothing here will hurt you, which is exactly why it is worth doing before you warp: a draft you have drawn and checked on paper costs nothing to fix, and a threading error costs hours. If you use solvent markers, ventilate.
Using it well
- Draw the threading first, then the tie-up, then the treadling — the drawdown is derived, not invented.
- A marked square means the warp end is up (weft underneath). Get that convention wrong and your draft is inverted.
- Photocopy a blank master and fill it in by hand; you will plan faster than with software.
- Keep every draft, even the failures. The failure is the more useful record.
Practise it in 3D
Run this stage as an interactive simulation, with the same figures this page quotes.
Open the simulatorEducational reference. Specifications are typical published ranges for this class of equipment or material, not a specification for any one product. Always follow the manufacturer’s instructions and local rules. Nothing here is a guarantee of cloth, colour or result.
Related