Looms & Frames
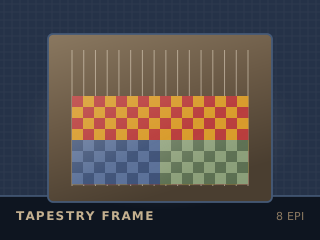
Tapestry frame
Simple frame for weft-faced pictorial work
Lock the brake firstNever cut a tensioned warpMask up for dusty fibreVentilate the dye areaTie back hair · check heddles · ventilate
Specifications
| Typical size | 30 × 40 cm to 90 × 150 cm |
|---|---|
| Warp spacing | 6 – 12 ends per inch |
| Shafts | None |
| Tension | Wedges, screws or a rotating bar |
| Portability | Small frames only |
| Setup time | 1 – 3 hours |
Technical parameters
| Shed mechanism | Hand — fingers or a shed stick |
|---|---|
| Warp tension | Frame-held, adjustable |
| Weft | Packed, not beaten |
| Materials | Beech, pine or PVC pipe frames |
| Best for | Pictorial work, rugs, wall hangings |
3Pattern25 – 160 cm
Overview
A tapestry frame holds a taut warp so you can build pictures weft by weft, packing each colour into its own patch. There are no shafts: the weaver decides the pattern pick by pick, which is slow, absorbing and completely free.
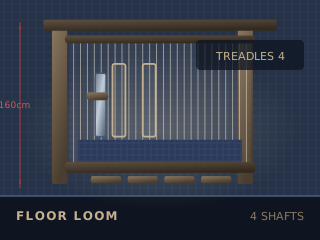
Typical figure for this stage: 4 – 16 shafts. Lift the right shafts in the right order. The draft is the pattern; the loom just follows it.
Safety notes
Packing the weft with a beater is repetitive work — take breaks before your wrist tells you to. Long metal warp rods can spring; cap the ends. Keep sharp warp ends away from your eyes when you cut off.
Using it well
- Weft-faced means the weft covers the warp — use a yarn thick enough to do that at your sett.
- Build shapes in steps of two or three ends to avoid split joins and gaps.
- Keep the weft at the same tension as the warp, or the sides will pull in.
- A rotating frame lets you work at a comfortable height instead of reaching.
Works with
Practise it in 3D
Run this stage as an interactive simulation, with the same figures this page quotes.
Open the simulatorEducational reference. Specifications are typical published ranges for this class of equipment or material, not a specification for any one product. Always follow the manufacturer’s instructions and local rules. Nothing here is a guarantee of cloth, colour or result.